For the first few years of the AI art boom, the process was always the same: type a prompt, wait thirty seconds, look at the result, and repeat. It felt less like creating art and more like ordering food at a restaurant. There was a disconnect between the artist’s hand and the digital output.
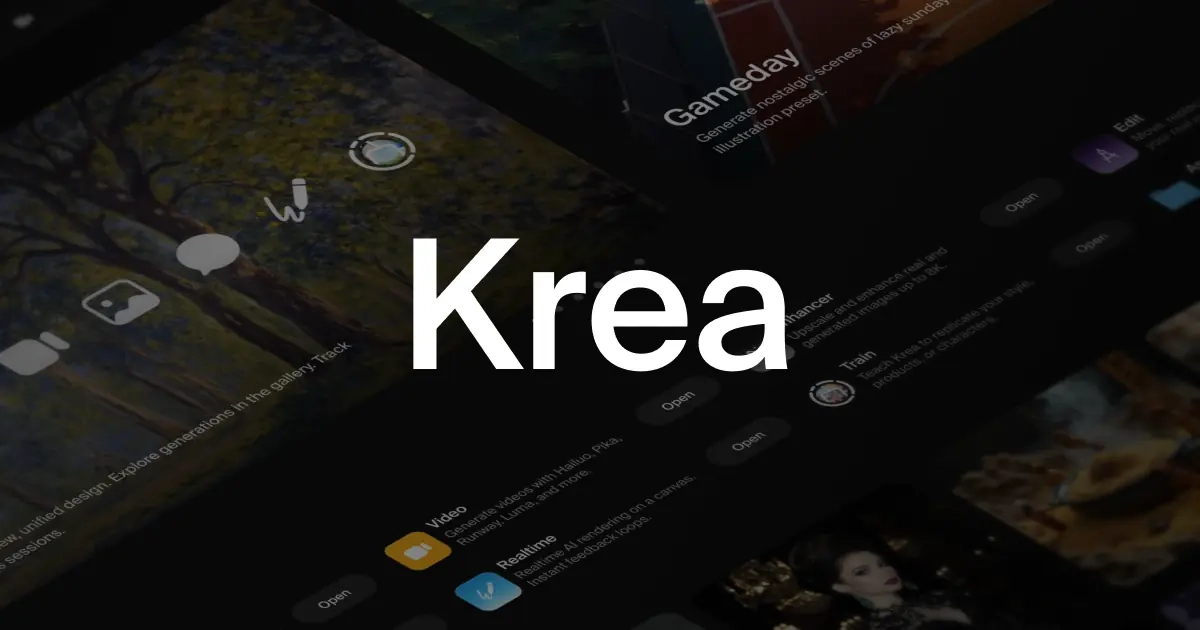
Krea AI has dismantled this barrier. It utilizes a technology called Latent Consistency Models (LCMs) to generate images instantly. As fast as you can move your mouse or webcam, the image updates. This introduces a “live feedback loop” that feels closer to traditional painting or sculpting. In this guide, we will explore how Krea is shifting the industry from “prompting” to “directing” and how you can use its suite of tools to enhance your professional workflow.
The Core Feature: Real-Time Generation
The flagship feature of Krea is its instant canvas. Here is how it differs from traditional tools like Midjourney.
The Split Screen Workflow
On the left side of your screen, you have a simple canvas where you can draw shapes, import images, or even feed in a live webcam stream. On the right side, the AI renders a high-quality interpretation of your input in milliseconds.
Why This Matters
- Composition Control: If you want a mountain on the left, you don’t need to hope the AI puts it there. You just draw a gray triangle on the left, and the AI turns it into a mountain instantly.
- Webcam Integration: You can sit in front of your camera, and Krea will turn you into a cyberpunk cyborg or a clay statue in real-time. This is incredibly powerful for testing lighting and poses without needing 3D software.
The Secret Weapon: Krea Enhancer
While real-time generation gets the headlines, the “Enhancer” tool is what keeps professionals coming back.
Most “upscalers” just make an image bigger. They sharpen the edges but often leave the texture looking muddy. Krea’s Enhancer effectively “re-dreams” the image at a higher resolution. It hallucinates new details skin pores, fabric textures, individual strands of hair that weren’t in the original low-resolution file.
How To Use It effectively
- Input: Take a blurry generation from Midjourney or a rough sketch.
- AI Strength Slider: This is critical.
- Low (0.3 – 0.5): Keeps the image exactly the same but sharpens it.
- High (0.6 – 0.8): Changes the face and details significantly to make it hyper-realistic.
- Style Prompt: You can tell the Enhancer how to upscale. For example, adding “4k film grain” will add texture, while “smooth digital art” will clean up the noise.
The Pattern Tool: Logo Illusions
If you have seen those viral images where a landscape creates a hidden Nike logo or a spiral, Krea is likely the tool used to create them.
This feature allows you to upload a black-and-white shape (like a text logo) and “bake” it into the structure of the image.
Step-by-Step for Logos:
- Upload your logo png to the Pattern tool.
- Set the prompt to something organic (e.g., “A snowy mountain range”).
- Adjust the Pattern Strength.
- Too High: The logo looks like a sticker pasted on top.
- Too Low: The logo is invisible.
- Sweet Spot: Usually around 0.6 to 0.9. The logo should only be visible when you squint your eyes.
Comparison: Krea vs. The Competition
Is Krea the right tool for you? Let’s compare it to the standard workflow.
| Feature | Krea AI | Midjourney / Stable Diffusion |
| Speed | Instant (Real-time) | Slow (15-60 seconds) |
| Control | High (Direct manipulation) | Low (Prompt dependent) |
| Quality | Good (Requires Enhancer) | Excellent (Native) |
| Use Case | Prototyping, Upscaling, Control | Final Polish, High Art |
A Professional Workflow With Krea
You don’t have to choose one tool over the other. The best results come from a hybrid approach.
Phase 1: The Sketch
Open Krea’s real-time canvas. Roughly sketch your composition. Draw a circle for the sun, a box for the building. Describe the scene in the prompt. Move shapes around until the composition feels balanced.
Phase 2: The Export
Download the “Quick Generate” image. It might look a bit low resolution, but the lighting and composition will be perfect.
Phase 3: The Polish
Take that image and run it through the Krea Enhancer. Crank the resolution up to 4k. Now you have a professional-grade asset that follows your exact layout but has the fidelity of a high-end render.
Conclusion
Krea AI represents the future of interactive design. It brings the “human touch” back into AI art by allowing you to physically manipulate the output. Whether you are using the webcam feature to storyboard a film or using the Enhancer to save a blurry photo, it is an essential utility for any modern creator’s toolkit. It bridges the gap between the speed of AI and the intention of the artist.