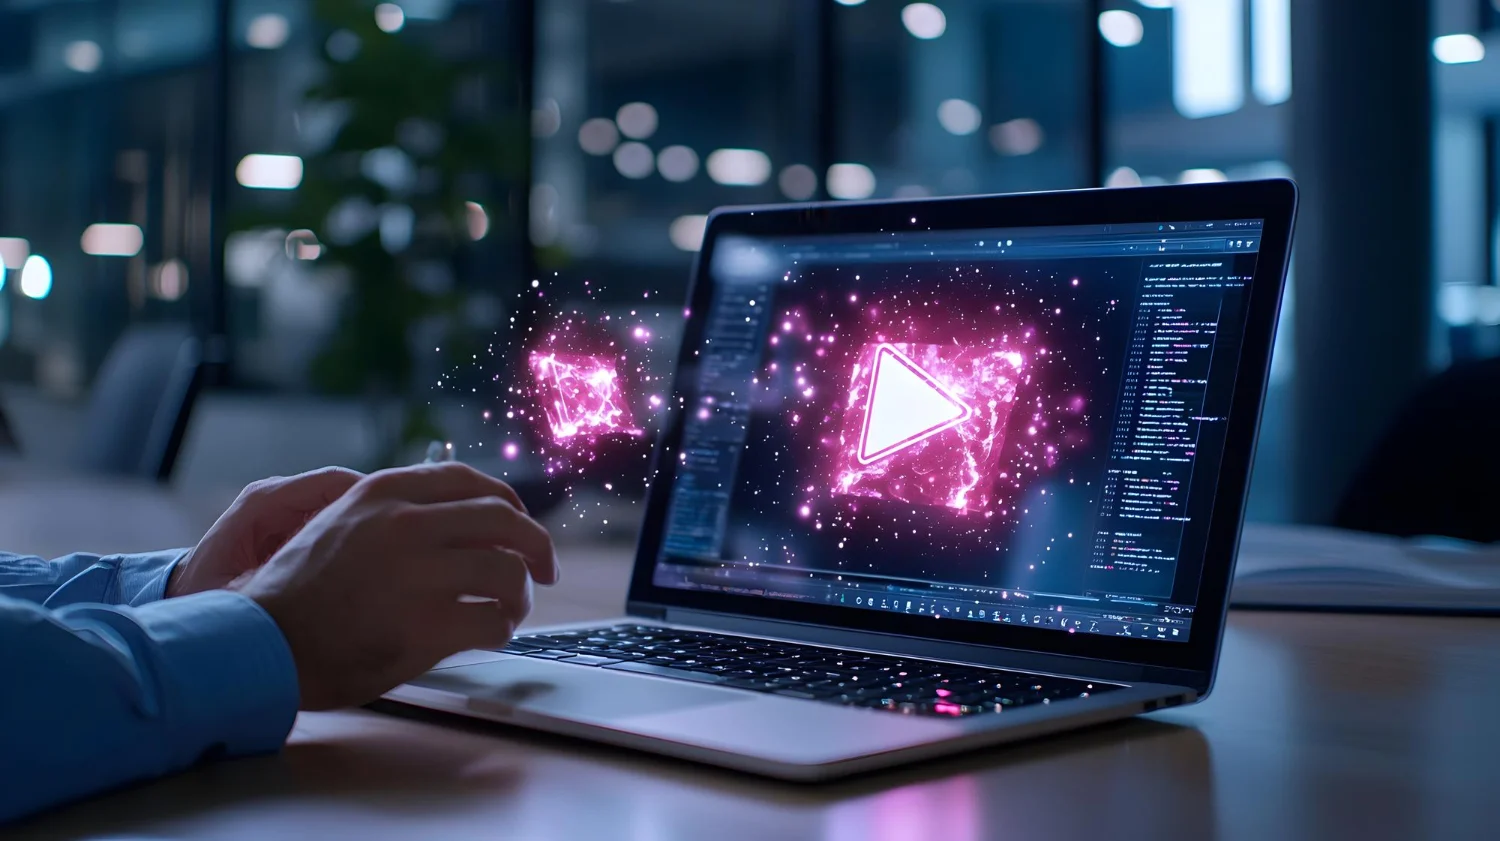
The static image is no longer the final destination. For digital artists and content creators, the next frontier is motion. Imagine taking a portrait you generated in Midjourney and making the character blink, smile, and turn their head. Or taking a cyberpunk city landscape and having neon cars fly past while rain falls realistically.
This is now possible with an AI video generator from image (img2video). Unlike “Text-to-Video” which creates scenes from scratch (and often hallucinates weird geometry), Image-to-Video allows you to perfectly control the composition. You start with a flawless image and simply tell the AI how to move it. In this guide, we will explore the tools and techniques to turn your portfolio into a cinematic showreel.
Why Start With An Image?
You might wonder, “Why not just type ‘a video of a car’?” The answer is control. Current video models struggle with composition. If you generate a video from text, the car might change color halfway through, or the wheels might disappear. By generating the image first (using Midjourney, Flux, or Stable Diffusion), you lock in the aesthetic, the lighting, and the character design. The video AI then only has one job: animation. This two-step workflow is the secret to professional consistency.
The Big Three: Choosing Your Engine
While there are dozens of tools, three platforms currently dominate the cinematic space.
1. Runway Gen-2 (The Control Freak)
Runway is the industry standard for filmmakers. Its superpower is the “Motion Brush.” This allows you to paint over specific areas of your image (like clouds or water) and tell only those parts to move, while keeping the rest (like mountains or buildings) perfectly still.
2. Pika Labs (The Effects Wizard)
Pika excels at specific interactions. It is incredible for things like “lip sync” (making characters talk) and adding environmental effects like squishing, inflating, or dissolving objects. It runs on Discord and the web, making it very accessible.
3. Kling AI (The Realism King)
A newer entrant that shocked the market with its ability to generate 5-second clips at 1080p with startlingly realistic physics. It handles human movement (walking, running) better than almost anything else.
Mastering Camera Movements
To make a clip feel “cinematic,” you need to think like a movie director. Most AI video generators allow you to set specific camera parameters. Using these correctly is the difference between a “GIF” and a “Movie.”
Horizontal Pan (-10 to 10)
- Moves the camera left or right.
- Best Use: Revealing a landscape or following a walking character.
Vertical Tilt (-10 to 10)
- Moves the camera up or down.
- Best Use: Tilting up to reveal a tall skyscraper or tilting down to show a character’s shoes.
Zoom (In/Out)
- Zoom In: Creates intensity and focus on a subject’s face.
- Zoom Out: Establishes the scale of an environment.
Roll
- Rotates the camera.
- Warning: Use sparingly. It creates a dizzying, disorienting effect suitable for horror or dream sequences but ruins standard shots.
The “Motion Brush” Workflow
This is the most critical technique to learn. Without it, your whole image might warp like jelly. Here is how to use it in Runway Gen-2:
Step 1: Upload Your Upscaled Image Always use a high-resolution source (at least 2k).
Step 2: Paint The Subject Use the brush tool to highlight only the character. Set the horizontal or vertical sliders to make them move.
Step 3: Paint The Background (Optional) Use a different colored brush for the background elements (like clouds). Give them a slow “ambient noise” movement to make the world feel alive without distracting from the subject.
Step 4: The Anchor Leave static objects (like a table or a wall) unpainted. This tells the AI, “Do not move these pixels.” This anchoring effect anchors the realism of the scene.
Prompting For Physics
Even though you are providing an image, you still need a text prompt to guide the motion. Be specific about the action, not the visual.
- Bad Prompt: “A cyberpunk city.” (The AI already sees the city).
- Good Prompt: “Traffic flowing fast, neon lights flickering, smoke rising from vents, slow cinematic camera pan right.”
Keywords like “Slow motion,” “Timelapse,” and “Drone footage” dramatically change how the AI interprets the time flow of the clip.
Common Mistakes To Avoid
The “Morphing” Effect If you set the “Motion Score” too high (usually above 5 or 6), the AI will try to move things that shouldn’t move. A face might turn into a flower. Keep motion settings subtle (around 3 or 4) for the most realistic results.
Ignoring Aspect Ratios Video is almost always 16:9. If you upload a square (1:1) image, the AI video generator will either crop it or stretch it. Always generate your source images in 16:9 (–ar 16:9 in Midjourney) before bringing them into the video tool.
Conclusion
The gap between a still image and a high-end video production is closing fast. By using an AI video generator from image, you can breathe life into your art. Start with a strong composition, use tools like Runway to control exactly what moves, and treat the camera like a physical object. With these steps, you can build entire movie trailers from the comfort of your desk.